
If you've been anywhere near the custom apparel scene lately, you've probably heard the buzz about DTF transfers. Maybe you're a small business owner looking to expand your product line, a crafty hobbyist wanting to personalize gifts, or just someone curious about the latest printing technology. Whatever your background, DTF transfers offer a compelling mix of versatility, durability, and ease of use that's hard to ignore. In this guide, we'll walk through what DTF transfers are, how they compare to other methods, and give you practical tips to get started. By the end, you'll have a clear roadmap to creating professional-looking prints that last.
What Are DTF Transfers?
DTF stands for Direct to Film. It's a printing process where your design is printed onto a special film, coated with a hot-melt adhesive powder, and then heat-pressed onto fabric. Unlike DTG (Direct to Garment) or screen printing, DTF doesn't require pre-treatment or specialized inks for different fabrics. The design sits on top of the fabric, bonded by the adhesive, which means you can apply it to cotton, polyester, blends, and even nylon or leather. This flexibility is a big reason why DTF transfers have become so popular among small businesses and DIY enthusiasts.
The DTF Printing Process
Here's a quick rundown of how DTF transfers are made:
- Design Preparation: Your artwork is prepared digitally, with colors adjusted for the CMYK+White ink set used by DTF printers.
- Printing: A DTF printer lays down the white ink base first, followed by the color layers. This white base is crucial because it allows the colors to pop on dark fabrics.
- Powdering: While the ink is still wet, a hot-melt adhesive powder is sprinkled over the film. Excess powder is shaken off.
- Curing: The film goes through a heat source (like a heat press or oven) to melt the powder, creating a dry, tacky adhesive layer.
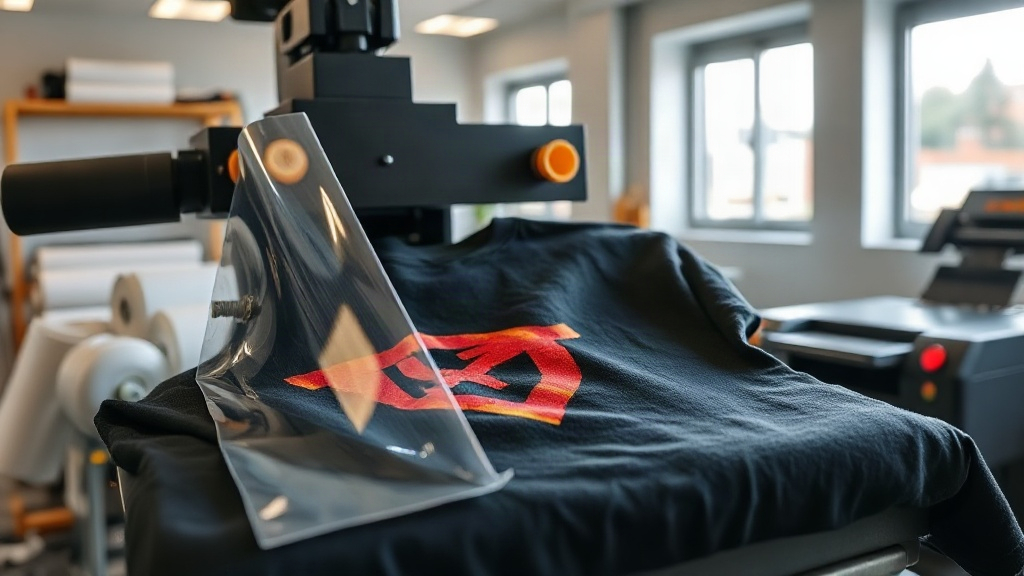
- Transfer: The film is then placed on the fabric and heat-pressed. The adhesive melts, bonding the design to the fabric. After cooling, the film is peeled away, leaving the design behind.
This multi-step process might sound complex, but once you have the equipment, it becomes second nature. The beauty of DTF transfers is that you can print them in bulk and store them for later use, making them ideal for on-demand production.
Why Choose DTF Transfers Over Other Methods?
If you're familiar with other decoration methods, you might wonder what sets DTF apart. Let's break it down.
Versatility Across Fabrics
One of the biggest advantages of DTF transfers is that they work on almost any fabric. Cotton, polyester, cotton-poly blends, and even treated nylon and leather can all receive a DTF transfer. This is a stark contrast to DTG, which works best on 100% cotton, or vinyl, which can be tricky on stretchy materials. If you offer a variety of apparel, DTF simplifies your workflow because you don't need different supplies for different garments.
Durability and Washability
When applied correctly, DTF transfers are incredibly durable. They can withstand dozens of washes without fading, cracking, or peeling. The adhesive bonds firmly to the fabric, and the inks are UV-resistant, so your designs stay vibrant. I've personally seen DTF prints survive years of regular wear, which is why many print shops now offer it as a premium option.
No Weeding or Cutting Required
Unlike heat transfer vinyl (HTV), DTF transfers don't require weeding or cutting. You simply print, powder, cure, and press. This saves a tremendous amount of time, especially for intricate designs with fine details or multiple colors. If you've ever spent hours weeding a complex vinyl design, you'll appreciate the simplicity of DTF.
Cost-Effective for Small Runs
Screen printing has high setup costs, making it less economical for small batches. DTF transfers, on the other hand, have low setup costs and can be produced one-off or in large quantities. For small businesses or hobbyists, this means you can offer custom designs without committing to hundreds of units.
How to Apply DTF Transfers: Step-by-Step
Applying DTF transfers is straightforward, but following the right steps ensures a professional finish. Here's what you need to do.
What You'll Need
- A heat press (or a home iron with no steam)
- Your DTF transfer
- The garment you want to decorate
- Parchment paper or a Teflon sheet (optional, but recommended)
Step 1: Preheat Your Heat Press
Set your heat press to the temperature recommended by your transfer supplier. Typically, this is around 300°F to 325°F (150°C to 160°C). If you're using a home iron, set it to the highest cotton setting and disable the steam.
Step 2: Position the Transfer
Place your garment on the press. Pre-press for a few seconds to remove moisture and wrinkles. Then, position the DTF transfer with the design facing up. If you're using a home iron, place the garment on a hard, heat-resistant surface.
Step 3: Press
Apply firm pressure for 10 to 15 seconds. If you're using a home iron, press down with both hands and use your body weight to ensure even pressure. Move the iron in a circular motion to cover the entire design. Avoid pressing too long, as this can cause the adhesive to over-melt and spread.
Step 4: Peel
After pressing, allow the transfer to cool completely. Then, peel the film away slowly. If the design lifts with the film, it means the adhesive didn't bond properly. In that case, replace the film and press again for a few more seconds.
Step 5: Post-Press (Optional)
For extra durability, you can cover the design with parchment paper and press again for 5 seconds. This helps the adhesive fully set.
And that's it! Your custom apparel is ready to wear or sell.
Common Mistakes to Avoid with DTF Transfers
Even though DTF is forgiving, a few missteps can ruin your results. Here are some pitfalls to watch out for.
- Not pre-pressing the garment: Moisture and wrinkles can prevent proper adhesion. Always pre-press for 3-5 seconds.
- Using the wrong temperature: Too low, and the adhesive won't melt; too high, and the film might warp or the ink might discolor.
- Peeling too soon: Hot peel is possible with some films, but most DTF transfers require a cold peel. Wait until the transfer is completely cool.
- Insufficient pressure: Without enough pressure, the adhesive won't penetrate the fabric fibers. Make sure your press is calibrated.
- Storing transfers improperly: Keep unused transfers in a cool, dry place, away from direct sunlight. Moisture can ruin the adhesive powder.
Avoid these mistakes, and you'll get consistent, professional results every time.
DTF Transfers vs. Other Printing Methods
To help you decide if DTF is right for you, let's compare it to other popular methods.
| Method | Fabric Compatibility | Durability | Setup Cost | Best For |
|---|---|---|---|---|
| DTF | Almost all fabrics | High | Low | Small batches, complex designs |
| DTG | 100% cotton | Medium | Medium | Cotton t-shirts, photo-realistic prints |
| Screen Printing | Most fabrics | Very high | High | Large batches, simple designs |
| HTV | Most fabrics | Medium | Low | Simple designs, personalization |
As you can see, DTF strikes a balance between versatility and cost, making it a great all-rounder.
Frequently Asked Questions About DTF Transfers
Can I use DTF transfers on dark fabrics?
Absolutely! DTF transfers include a white ink base, which allows colors to show up vividly on dark garments. Just ensure you use a transfer designed for dark fabrics, as some low-quality films may not have enough white ink.
How long do DTF transfers last?
With proper application and care, DTF transfers can last as long as the garment itself. Wash the garment inside out in cold water and avoid bleach or fabric softeners to maximize longevity.
Do I need a special printer for DTF?
Yes, DTF printing requires a dedicated DTF printer that uses DTF inks and can handle the film. However, you can also buy pre-made DTF transfers from suppliers if you don't want to invest in a printer.
Can I stretch the garment after applying a DTF transfer?
DTF transfers have some stretchability, but extreme stretching can cause cracking. For stretchy fabrics like spandex, consider using a transfer with a flexible adhesive or apply a smaller design to minimize stress on the print.
What's the best way to store DTF transfers?
Store them flat in a cool, dry place, away from humidity and direct sunlight. You can stack them with parchment paper between layers to prevent sticking. Avoid folding the transfers, as creases can affect the final print.
Final Thoughts
DTF transfers are revolutionizing the custom apparel industry by offering a versatile, durable, and cost-effective solution for printing on a wide range of fabrics. Whether you're a seasoned pro or just starting out, mastering DTF can open up new creative and business opportunities. Remember to follow the application steps carefully, avoid common mistakes, and choose quality supplies. With a little practice, you'll be producing stunning, long-lasting prints that your customers will love. So go ahead, give DTF a try, and watch your designs come to life.