
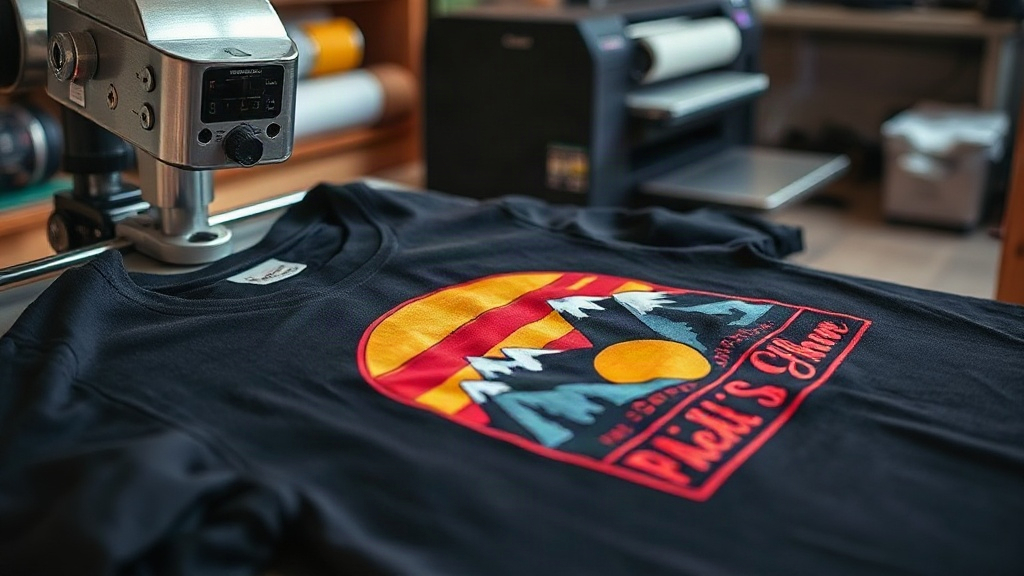
Imagine pressing a single sheet onto a cotton t-shirt and pulling away a print so vivid it looks screen-printed, yet detailed enough to capture a photograph. That is the promise of DTF transfers, a technology that has quickly become a favorite among custom apparel creators. Unlike traditional methods that require specific fabrics or multiple steps, DTF transfers offer a versatile, accessible route to professional-grade results. Whether you are a small business owner, a hobbyist, or someone exploring print-on-demand, understanding DTF transfers can open up a world of creative possibilities. In this guide, we will walk through the entire process, from artwork preparation to the final press, and share practical tips to help you achieve flawless prints every time.
What Are DTF Transfers?
DTF stands for Direct to Film. It is a printing method where your design is printed onto a special PET film using water-based pigments, then coated with a hot-melt adhesive powder. The film is cured, and later heat-pressed onto the fabric. The adhesive bonds the ink to the material, creating a flexible, stretchable print that feels soft to the touch. Unlike DTG (Direct to Garment) printing, which requires pre-treatment and works best on cotton, DTF transfers can be applied to a wide range of fabrics, including polyester, blends, and even leather. This versatility is a game-changer for anyone working with diverse materials.
How DTF Transfers Work: Step by Step
The DTF process might seem technical at first, but it is surprisingly straightforward once you understand the key stages. Here is a breakdown of what happens from digital file to finished garment.
1. Design Preparation
Start with a high-resolution image, ideally 300 DPI, in CMYK color mode. Remove any background to ensure clean edges. If your design has white areas, they will be printed as white ink, so keep that in mind. Mirror the image horizontally because the film will be flipped during pressing.
2. Printing
Load the PET film into a DTF printer. The printer lays down a layer of white ink, followed by the color inks, and sometimes a final white layer for opacity. This layering allows the print to show up vividly on both light and dark fabrics.
3. Powdering and Curing
While the ink is still wet, the film passes through a powder shaker that applies hot-melt adhesive powder evenly. Excess powder is shaken off, and the film goes into a curing oven or under a heat source to melt the powder. This step is crucial: under-curing leads to poor adhesion, while over-curing can make the transfer brittle.
4. Heat Pressing
Set your heat press to the temperature and time recommended for your film and fabric, typically around 160°C (320°F) for 10-15 seconds with medium pressure. Place the transfer on the garment, press, then peel the film. You can peel while hot or cold, depending on the film type. A quick second press with a cover sheet ensures a smooth finish.
Why Choose DTF Transfers?
There are several compelling reasons why DTF transfers have gained such popularity. Let us explore the main advantages.
- Fabric versatility: Works on cotton, polyester, blends, nylon, and more.
- No pre-treatment: Saves time and avoids chemical handling.
- Vibrant colors: White ink base makes colors pop on dark garments.
- Durability: Prints withstand repeated washing when applied correctly.
- Cost-effective for short runs: No minimum order quantities, ideal for small businesses.
These benefits make DTF transfers an attractive option for custom t-shirts, tote bags, and even promotional items. However, like any method, there are nuances to master.
Common Challenges and How to Overcome Them
Even with a solid understanding, you might run into issues. Here are some common problems and their solutions.
Insufficient Adhesion
If the transfer peels off after washing, it is likely due to insufficient pressure, incorrect temperature, or under-cured powder. Double-check your heat press settings and ensure the powder is fully melted. Using a infrared thermometer can help verify temperature.
Color Fading
Fading can occur if the transfer is over-pressed or washed in hot water. Always wash garments inside out in cold water and avoid bleach. Also, ensure the film is not exposed to excessive heat during curing.
Film Sticking to the Press
This happens when the transfer is peeled too hot or the pressure is too high. Try cold peeling if the film allows, or reduce pressure slightly.
DTF vs. Other Printing Methods
How does DTF stack up against DTG, screen printing, and vinyl? Each has its strengths, but DTF shines in specific scenarios.
- DTG: Best for 100% cotton, but requires pre-treatment and can be less durable on dark shirts.
- Screen printing: Cost-effective for large orders, but setup costs are high and colors are limited.
- Vinyl: Great for simple designs, but not suitable for complex, multi-color images.
DTF transfers bridge the gap, offering detailed prints on various fabrics without the complexity of DTG or the volume requirements of screen printing.
Expert Tips for Flawless DTF Transfers
To elevate your results, consider these practical tips from experienced users.
- Invest in a quality printer and film: Cheaper alternatives may save money upfront but often lead to inconsistent results.
- Maintain your equipment: Regular cleaning of printheads and rollers prevents clogs and misfeeds.
- Test your settings: Every heat press behaves differently; run test presses to dial in the perfect temperature, time, and pressure.
- Store transfers properly: Keep unused films in a cool, dry place to prevent powder absorption of moisture.
- Use a cover sheet: When pressing, a Teflon sheet or parchment paper protects the transfer and garment.
These practices not only improve quality but also extend the life of your equipment.
Applications Beyond T-Shirts
While t-shirts are the most common canvas, DTF transfers can be used on hoodies, caps, denim jackets, canvas bags, and even mouse pads. The key is to ensure the surface can withstand the heat press. For items with zippers or buttons, use a pressing pillow to avoid uneven pressure. This flexibility makes DTF a versatile tool for personalizing a wide range of products.
Frequently Asked Questions
Can DTF transfers be applied to 100% polyester?
Yes, DTF transfers work well on polyester. However, because polyester is heat-sensitive, use a lower temperature (around 150°C or 300°F) and shorter press time to avoid scorching or dye migration. Always test on a scrap piece first.
How long do DTF transfers last?
When applied correctly and cared for properly, DTF transfers can last as long as the garment itself. Washing inside out in cold water and avoiding high heat in the dryer will maximize longevity.
Do I need a special printer for DTF?
You can convert certain inkjet printers to DTF, but for consistent results, a dedicated DTF printer with white ink channels is recommended. These printers are designed to handle the viscosity of DTF inks and the powder application process.
Can I layer DTF transfers?
Layering is possible but tricky. It is best to press one transfer, then apply the second on top with a cover sheet. However, too many layers can make the print stiff. For complex designs, it is better to print the entire design as one transfer.
What is the difference between hot peel and cold peel DTF film?
Hot peel film allows you to remove the film immediately after pressing while it is still hot, which is faster. Cold peel requires the transfer to cool completely before peeling, often resulting in a smoother finish. The choice depends on the film manufacturer's instructions and your workflow.
With these insights, you are well-equipped to dive into DTF transfers. Remember, practice and patience are key. Start with small projects, refine your technique, and soon you will be producing stunning, durable prints that impress customers and friends alike.