
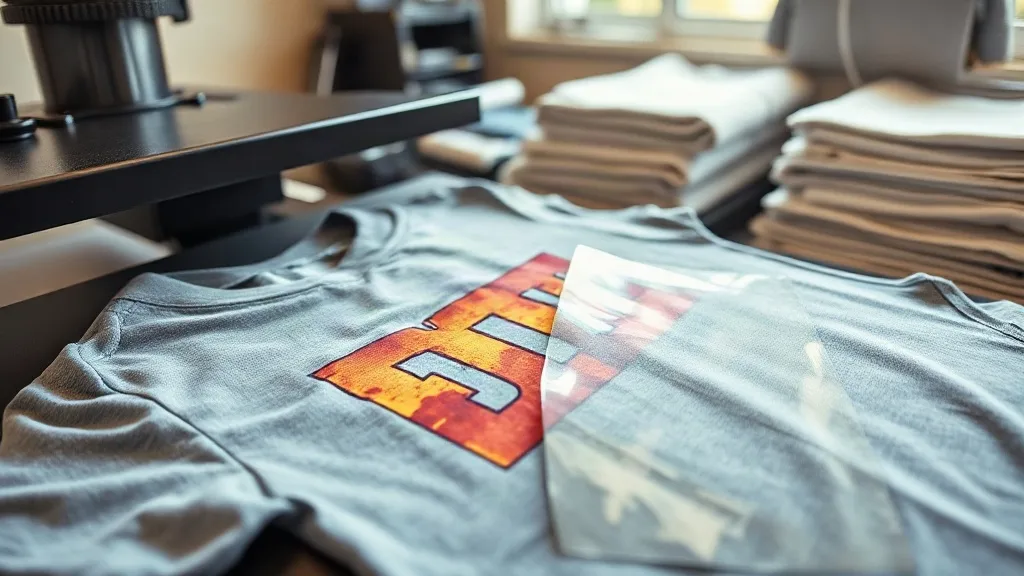
You've probably noticed that not all blanks are created equal. Cotton is forgiving, polyester is predictable, but blended fabrics? They can be a headache if you treat them like everything else. Whether you're printing on a 50/50 poly-cotton tee or a slinky tri-blend, the dtf transfers process needs a few tweaks. This guide is for print shop owners, POD sellers, and anyone who's ever peeled a transfer off a blend and watched it crack. We'll cover why blends behave differently, how to adjust your press settings, and how to make prints last wash after wash.
Why Blended Fabrics Behave Differently Under Heat
Blends are part cotton, part synthetic. That mix changes how the fabric reacts to heat and pressure. Cotton fibers absorb moisture and swell slightly, while polyester fibers are thermoplastic—they soften and can shrink or glaze when heated. When you press a dtf transfer onto a blend, the adhesive powder has to bond with both fiber types simultaneously. If the temperature is too high, the polyester component can melt or become shiny; too low, and the adhesive won't fully activate, leading to poor wash durability.
I learned this the hard way with a batch of 65/35 poly-cotton tees. I used my standard cotton settings and ended up with prints that felt great out of the press but started peeling after the first wash. The adhesive hadn't penetrated the polyester side properly. Since then, I always test a scrap piece before running a full order.
Understanding Your Blend: Common Ratios and What They Mean
Not all blends are the same. The ratio of cotton to polyester affects how you should press. Here's a quick rundown of the most common blends you'll encounter:
- 50/50 poly-cotton: Balanced absorbency and durability. Press at 300-310°F (150-155°C) with medium pressure.
- 60/40 cotton-poly: More cotton-like; can handle slightly higher heat, around 310-320°F (155-160°C).
- Tri-blends (cotton/poly/rayon): Rayon adds softness but is heat-sensitive. Keep temps low (290-300°F / 145-150°C) and use light pressure.
- Poly-rich blends (e.g., 80/20 poly-cotton): Treat almost like 100% polyester; lower temp (290-300°F) and quick press to avoid scorching.
Always check the fabric content tag or ask your blank supplier. When in doubt, start low and increase gradually.
Pre-Press Preparation: Setting the Stage for Success
Before you even think about applying the transfer, prep your garment. Blended fabrics often carry moisture from manufacturing or storage, and that moisture turns to steam under the heat press, causing bubbles or poor adhesion. Pre-press the shirt for 5-7 seconds at your intended press temperature to remove wrinkles and moisture. This step also helps stabilize the fabric so it doesn't shift during transfer.
Use a pressing pillow or a folded towel inside the shirt to create a firm, even surface. This is especially important for blends that tend to stretch. A Teflon sheet or parchment paper on top of the transfer protects the print from direct heat and prevents scorching.
Temperature, Pressure, and Time: The Holy Trinity for Blends
Getting these three variables right is key. Here's a starting point for most blends:
- Temperature: 300-310°F (150-155°C). For rayon-heavy tri-blends, drop to 290°F (145°C).
- Pressure: Medium to firm. You want the transfer to make full contact without crushing the fabric. Too little pressure and the adhesive won't bond; too much and you risk flattening the print or causing the fabric to glaze.
- Time: 10-15 seconds. Start with 12 seconds and adjust based on results.
Always peel the transfer while it's warm or cold? For blends, I recommend a warm peel (wait 2-3 seconds after pressing) because the adhesive is still slightly flexible and less likely to pull fibers. But check your transfer supplier's instructions—some films are designed for cold peel.
Stretching and Recovery: The Hidden Challenge
Blended fabrics, especially those with spandex or elastane, stretch more than 100% cotton. If your transfer doesn't stretch with the fabric, it will crack or pop off. To improve stretch, use a transfer film designed for stretch fabrics, and after pressing, immediately stretch the garment gently in all directions while it's still warm. This helps the adhesive and ink move with the fabric.
Also, consider the design itself: avoid large solid blocks of ink on high-stretch areas. Instead, use halftones or smaller elements that can flex independently.
Wash Durability: Testing and Best Practices
You can't guarantee a print will last unless you test it. Before delivering an order, run a wash test on a sample. Wash inside out in cold water, tumble dry low, and check for peeling or cracking. For blends, I recommend a 48-hour wait before washing to let the adhesive fully cure.
Instruct your customers to wash inside out and avoid fabric softener, which can degrade the adhesive over time.
Common Problems and How to Fix Them
Even with the right settings, things can go wrong. Here are a few issues I've encountered and how to solve them:
- Print feels rubbery: Too much pressure or temperature. Lower both and try again.
- Edges lifting after wash: Adhesive didn't bond. Increase pressure slightly and ensure even coverage.
- Fabric glazing: Temperature too high. Reduce heat and use a Teflon sheet.
- Design cracking: Fabric stretched during press or insufficient stretch in transfer. Use stretch film and post-stretch.
Finding Reliable DTF Transfers for Blended Fabrics
Not all DTF transfers are created equal. If you're looking for dtf transfers near me, choose a supplier that offers films specifically formulated for blends and stretch fabrics. Quality transfers have a finer adhesive powder that penetrates better and cures evenly. Don't cheap out—your reputation depends on it.
FAQ: DTF Transfers on Blended Fabrics
Can I use DTF transfers on 100% polyester?
Yes, but you'll need to lower the temperature to around 290°F (145°C) and use light pressure to avoid scorching or dye migration. Pre-testing is essential.
How do I prevent the transfer from cracking on stretchy blends?
Use a stretch-friendly DTF film, post-stretch the garment while warm, and avoid large solid designs over high-stretch areas.
What's the best way to wash a DTF-printed blend?
Turn the garment inside out, wash in cold water with mild detergent, and tumble dry low. Avoid fabric softener and ironing directly on the print.
Why does my transfer look dull after pressing on a blend?
Dullness can be caused by insufficient pressure or temperature. Ensure even pressure and check that your press is calibrated. Also, some blends have a texture that affects ink appearance; a higher-quality transfer can help.
Do I need a special transfer for tri-blends?
Tri-blends contain rayon, which is heat-sensitive. Use a low-temperature transfer film and press at 290°F (145°C) with light pressure. Always test first.