
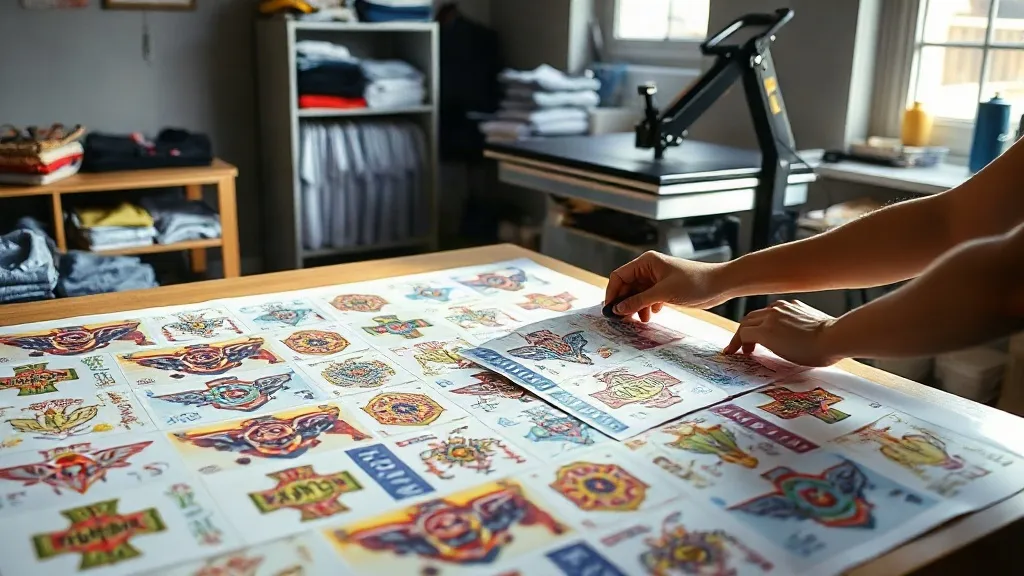
If you run a small apparel decorating business, you already know the squeeze: customers want custom shirts in small batches, fast, and at a price that still leaves you a margin. A DTF Gangsheet is one of the few tools that actually makes that equation work. Instead of printing one design at a time, you nest multiple designs onto a single sheet, send it once, and press as orders come in. The result is less waste, lower per-unit costs, and the flexibility to say yes to the odd single-shirt order without losing money. This guide walks through the practical side of gangsheets for small shops: how to plan them, price them, and press them without headaches.
Why gangsheets make sense for small shops
Traditional screen printing punishes small runs. Setup costs dominate, and a five-shirt order can be a loss leader. DTF transfers flip that model because there is no screen setup, but the per-print cost still adds up if you order one design at a time. A gangsheet changes the math by letting you combine many designs on one sheet. You pay for the sheet area, not the number of designs. That means a sheet filled with ten different logos or slogans can bring your cost per transfer down to pennies, even for one-off orders.
The other advantage is inventory flexibility. You can print a gangsheet with a mix of sizes and designs, then press only what you need when an order arrives. No more guessing how many mediums versus larges to print. For a small shop without much storage, that just-in-time approach keeps cash flow healthy and shelves clear.
Planning a gangsheet that actually saves money
Not all gangsheets are created equal. A poorly planned sheet wastes space and erodes your savings. The goal is to maximize coverage while keeping each design usable. Here is how to approach it.
Start with a design inventory
Before you open your layout software, list the designs you need to produce for the next few weeks. Group them by size and color. For example, if you have a batch of left-chest logos for a local business and a set of full-back prints for a sports team, those will occupy different amounts of space. Knowing your mix helps you decide sheet size and nesting strategy.
Nest tightly but leave breathing room
Nesting is the art of fitting designs together like puzzle pieces. Rotate designs where possible, and use the gaps between large prints to slot in small ones. But do not sacrifice cut lines for density. Each transfer needs a small border so you can trim it cleanly. A good rule of thumb is to leave at least 3 to 5 mm between designs. That margin prevents ink from bleeding between transfers during pressing and makes cutting faster.
Consider the press and the garment
A gangsheet that is too wide for your heat press is a problem. Standard sheet widths are typically 13, 16, or 22 inches, but check your press platen size. If you have a 16x20 press, a 22-inch sheet will need to be cut down or pressed in sections. Also think about garment placement: designs for sleeves or pockets need to be oriented differently than full-front prints. Plan your sheet so that each transfer can be cut and pressed without reorienting the artwork.
Pricing with gangsheets in mind
Pricing is where gangsheets can quietly boost your profit margin. Many shops price DTF transfers based on the cost of a single design printed individually, which leaves money on the table. Instead, calculate your true cost per transfer when the sheet is full. If a 22x36 inch sheet costs $15 and holds 30 average-sized designs, your cost per transfer is 50 cents. Add your labor for cutting and pressing, plus a reasonable markup, and you can offer competitive pricing while keeping a healthy margin.
But be careful not to overpromise. If a customer orders a single shirt with a large back print, that design may take up a quarter of the sheet. Your cost for that transfer is higher. Use a tiered pricing structure: small designs (left chest, pocket) at one rate, medium (full front) at another, and large (full back) at a third. This approach reflects the actual sheet area consumed and keeps your pricing fair and profitable.
Pressing gangsheet transfers: workflow tips
Once your gangsheet arrives, the pressing workflow can make or break your efficiency. Here is a sequence that works for small shops.
- Cut first, press later. Trim all transfers from the sheet in one sitting. Use a rotary cutter or sharp scissors and cut just outside the design border. Store them in a flat file or labeled bag by design and size.
- Pre-press garments. Wrinkles are the enemy of DTF. Pre-press each garment for 3 to 5 seconds to remove moisture and flatten the surface.
- Press with consistent pressure and temperature. Follow the transfer supplier's recommendations, but typically 300 to 320°F for 10 to 15 seconds with medium pressure. Peel while hot or cold depending on the film type.
- Post-press for durability. A second press with a cover sheet for 5 seconds improves adhesion and wash durability.
Keep a pressing log for each gangsheet batch. Note the settings, film type, and any issues. Over time, you will build a reference that speeds up training and troubleshooting.
Common mistakes to avoid
Even experienced shops stumble with gangsheets. Watch for these pitfalls.
- Overfilling the sheet. Cramming too many designs can lead to cutting errors and ink smudges. Leave a little breathing room.
- Ignoring film orientation. DTF film has a coated side and a non-coated side. Printing on the wrong side ruins the sheet. Double-check before sending to the printer.
- Storing transfers improperly. Dust and moisture degrade the adhesive. Keep transfers in a sealed bag or flat file away from direct sunlight.
- Forgetting to account for waste. Always print a few extra small designs to fill gaps, but do not count them as sellable inventory unless they are perfect.
Scaling up without losing control
As your order volume grows, gangsheets become even more valuable. You can standardize sheet layouts for recurring orders, such as team uniforms or corporate logos, and keep a library of pre-nested templates. That reduces planning time and ensures consistency. For custom work, a gangsheet lets you mix different customers' designs on one sheet, which is especially useful for rush orders or sample packs. Just be meticulous about labeling each transfer so you do not mix up orders.
Invest in a larger press or a sheet cutter if volume justifies it. A 16x20 press is a good starting point, but a 16x24 or 20x24 press accommodates larger sheets and reduces the need to cut down sheets. Similarly, a motorized cutter speeds up trimming and gives cleaner edges.
Frequently asked questions
How many designs can I fit on a DTF Gangsheet?
It depends on the size of each design and the sheet dimensions. A 22x36 inch sheet can hold anywhere from 10 large back prints to over 50 small left-chest logos. The key is to nest efficiently and leave adequate spacing for cutting.
Can I mix different film types on one gangsheet?
Most DTF printers use a single film type per sheet. Mixing film types (e.g., standard and puff) is not recommended because they require different powder and pressing settings. Keep film types separate for best results.
How long can I store pressed transfers?
Unpressed DTF transfers can be stored for several months if kept in a cool, dry place away from direct sunlight. Once pressed onto a garment, follow proper wash care to ensure durability, typically washing inside out in cold water and tumble drying low.
Do gangsheets work for one-off orders?
Absolutely. That is one of their biggest advantages. You can fill a sheet with a variety of designs and sizes, then press only what you need for each order. This makes custom single shirts profitable.
What is the best way to cut a gangsheet?
Use a sharp rotary cutter or scissors and cut just outside the design border, leaving a 1 to 2 mm margin. A light table or backlit surface can help you see the cut lines more clearly, especially on dark films.